Introduction
Plash is developed by Sindre Sorhus. If you are into macOS eco-system then you surely have came across his apps. He is a prolific app developer for macOS. Plash is one of my favourites and it's totally free to use.
Plash lets you use any website as the desktop wallpaper for your Mac. You can even browse the whole website after enabling the "Browsing Mode".
Installation and Usage
First, let's install it by visiting Plash on the Mac App Store. After installing, open it. Plash resides in your Mac menu bar. Click on it to reveal the menu options.
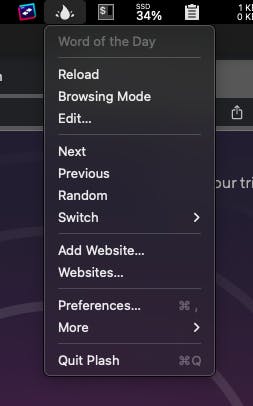
Let's use Unsplash to set a desktop wallpaper. From the Plash menu, click on Add Website.... A modal window will open to enter the address of the website as well as the title.
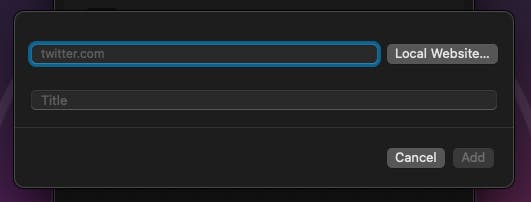
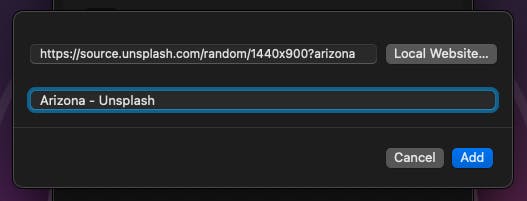
In the input field for website address, type:
https://source.unsplash.com/random/1440x900?arizona,
and for the title, type
Arizona - Unsplash
Since the landscapes of Arizona are mesmerising, I am setting a random image of it as my desktop wallpaper. 1440x900 is the display resolution of my MacBook Air. Feel free to edit it as per your need.
Now, check your desktop. Here's how mine look now.

Settings
Click on the Plash icon in your Mac menu bar and then click on Preferences....
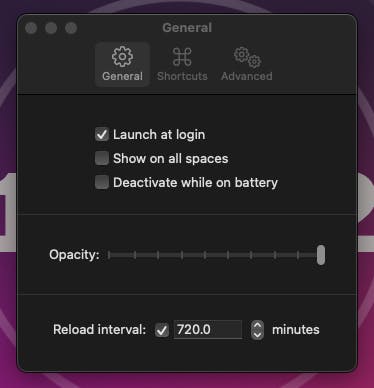
Under General tab, you can change the opacity as well as the Reload interval. I have set the Reload interval to 720 minutes i.e. 6 hours. It means that in every six hours the website will get reloaded. I have also set Plash to launch at login. Other settings are self-explanatory.
Browsing Mode
Let's set a new website as desktop wallpaper. For the website, type
https://www.merriam-webster.com/word-of-the-day/,
and for the title, type
Word of the Day
Now, I usually like to have some level of opacity so as not to strain my eyes for websites that use mostly white as background colour. In this case, I have set the opacity ~ 60%. This is how it looks:
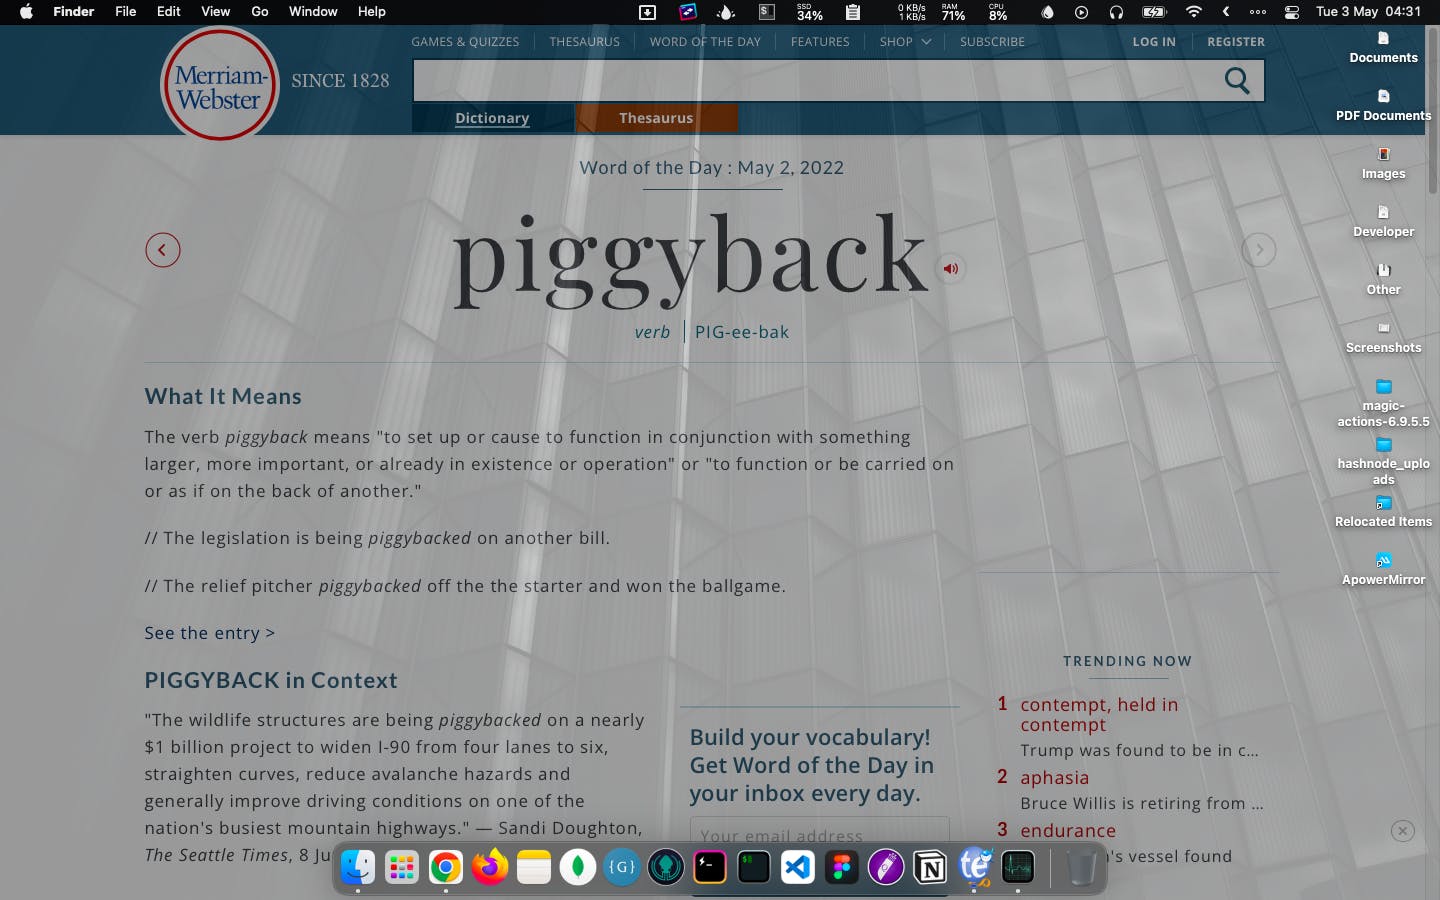
Now, I use this website extensively on a daily basis in order to learn new words; their meanings as well as pronunciations. If you go to the desktop, you won't be able to browse it as you would in a web browser. Open Plash menu options by clicking the Plash icon on the Mac menu bar and click on Browsing Mode. This is how it looks now with Browsing Mode on.
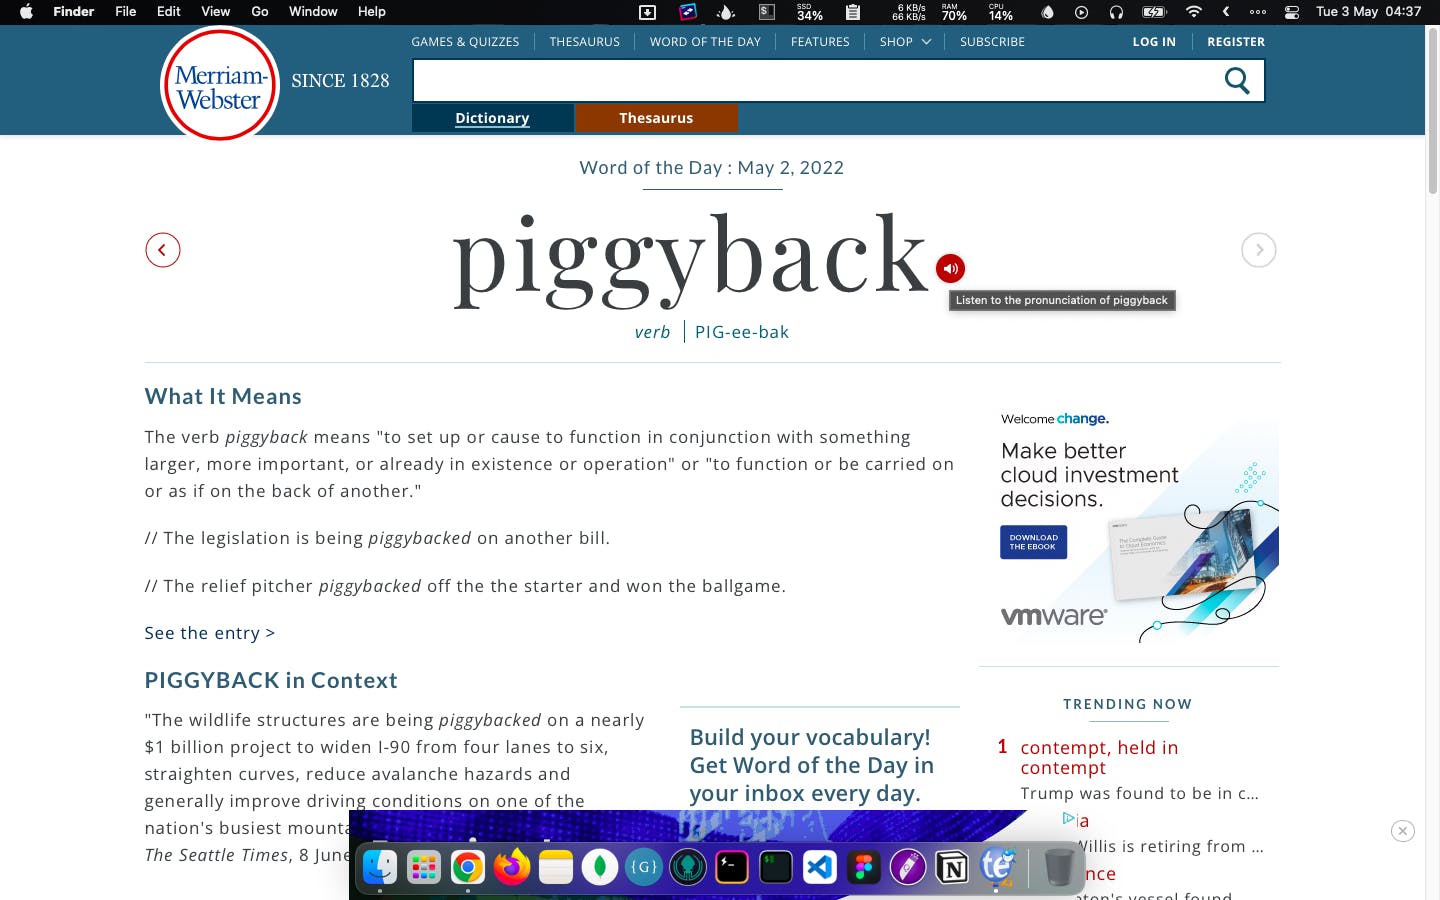
Now, you can browse the page and interact with it the way you would do in Chrome, FF, etc. You can toggle this feature by clicking on the Browsing Mode.
How to Switch Between Websites
Open Plash menu options and click on Websites...
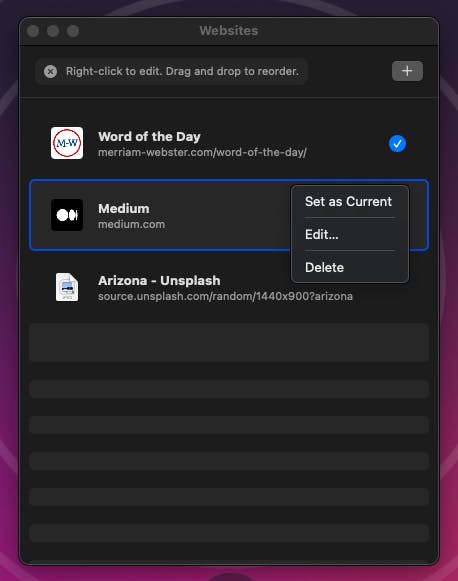
As you can see, I have added Medium in the list of websites using the aforementioned method. I can rearrange the list of sites and can change to any site as desktop wallpaper by right-clicking on it and choosing Set as Current. You also have the option to delete the websites that you have added.
For faster switching between the sites, open Plash menu options and then click on Switch and then choose the desired site.
Afterthought
Plash is capable of so much more than what I have just explained. It is very powerful. Check out what people have done with it. Also go through its GitHub page to know more of its features.
